This tutorial assumes no knowledge of coding whatsoever. It is split into 3 sections:
- basics of how to use Git/Github.
- Basics of Webpages
- Basic of Static Pages
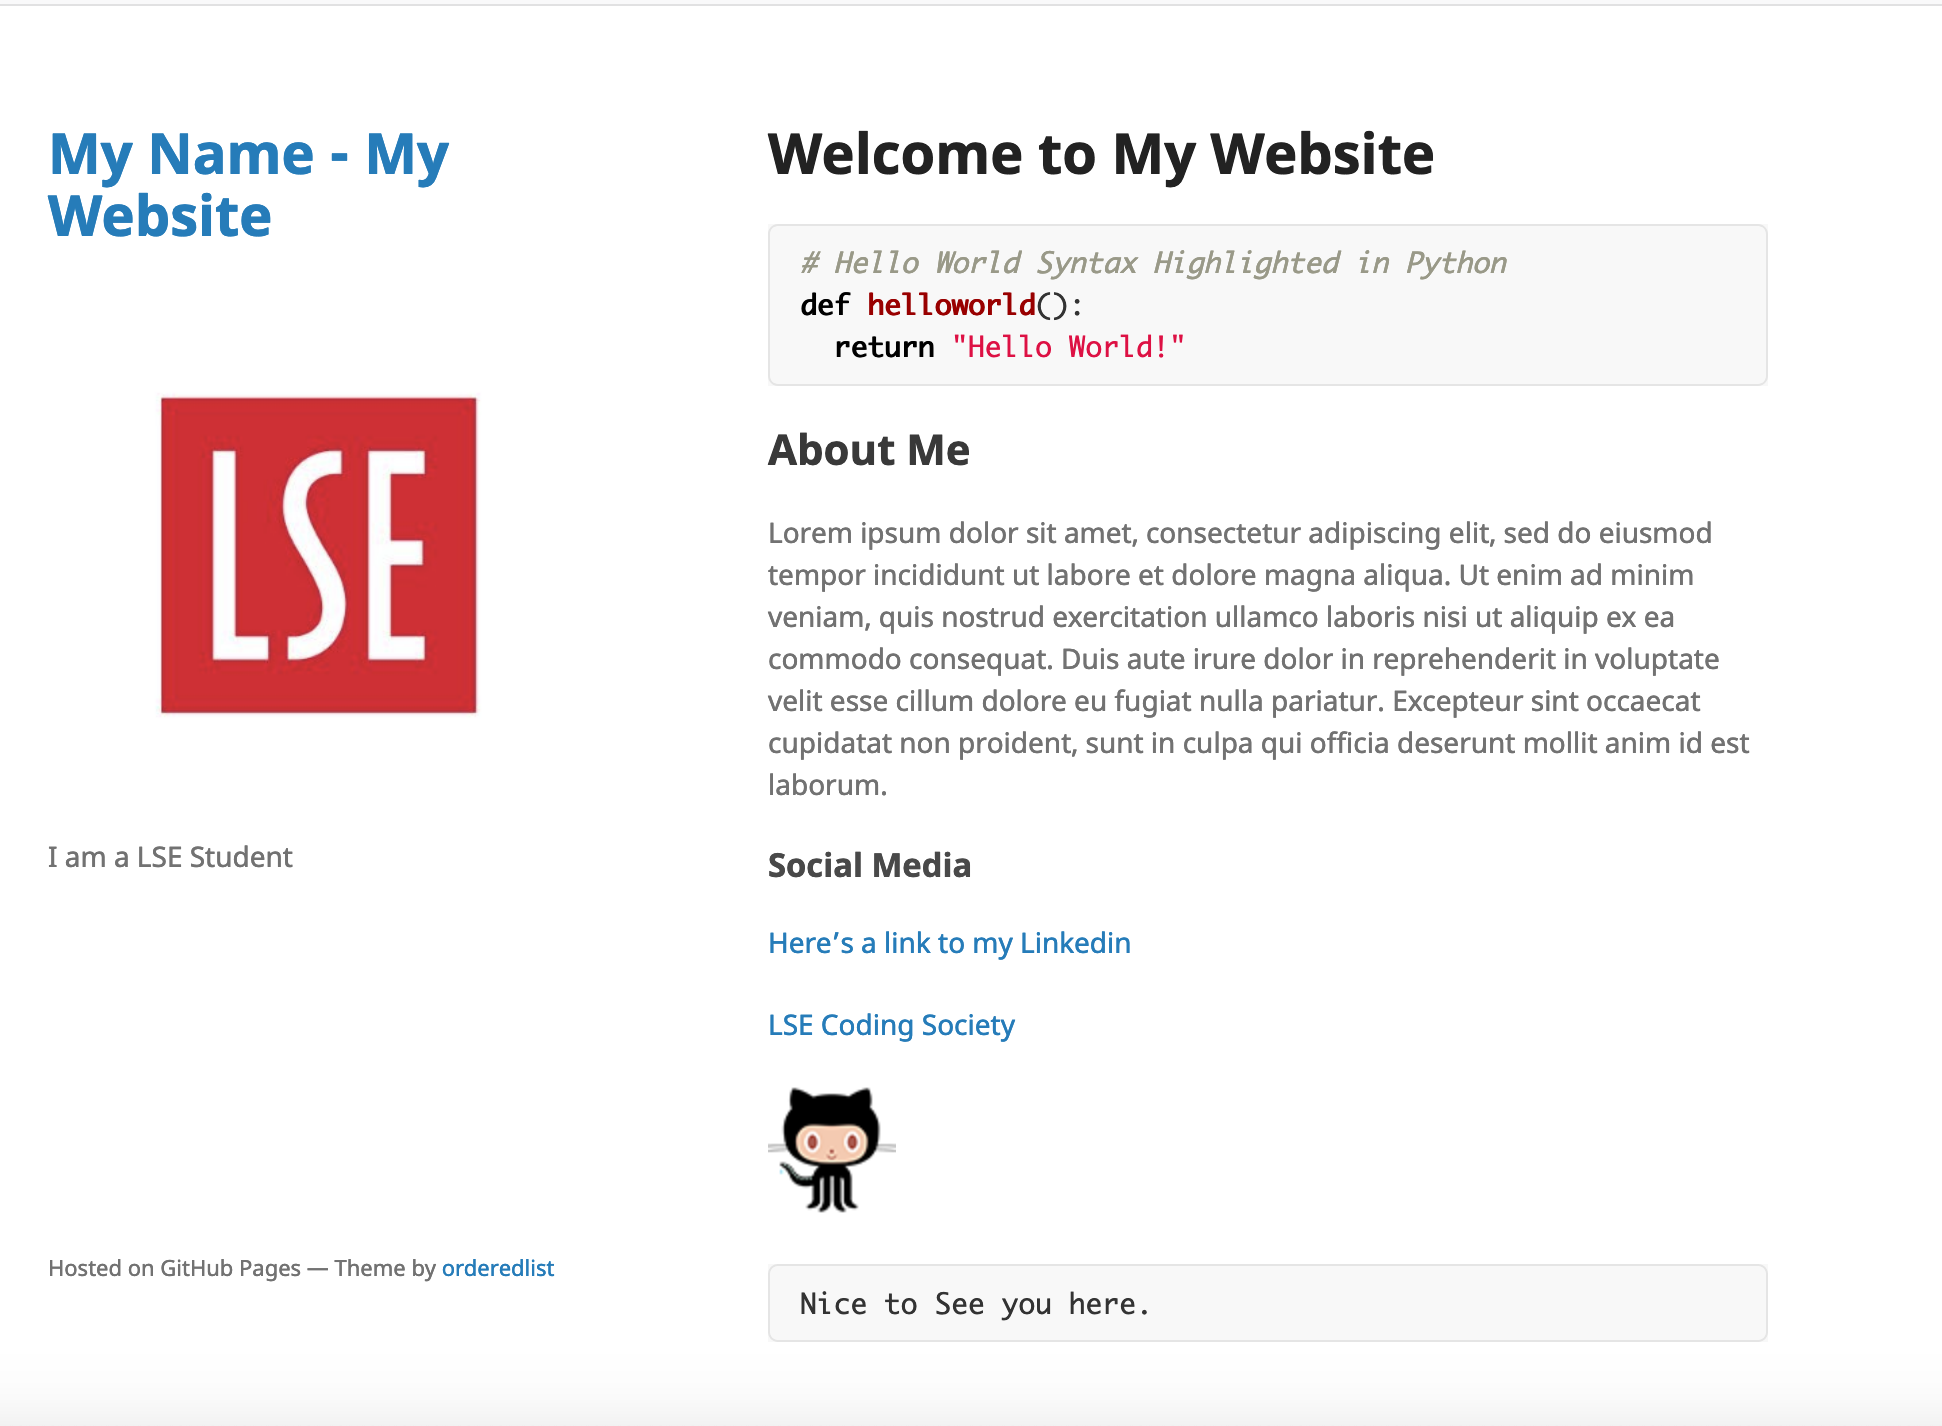
At the end of this tutorial, you will have created your own webpage which will be hosted on github pages, which will look something like this:
What is Git? Why Git? What is Github?
Git is a distributed version control system made by Linus Torvalds, the creator of Linux. What “distributed version control system” means, is that a group of coders can collaborate together in real-time on the same project in a scalable, robust way, keeping track of all changes made, and developing projects (“repos”) in a efficient manner.
Github is a platform that support Git. There are alternatives such as Gitlab and Atlassian, but for now we will stick Github as it allows free hosting for your webpage.
You should learn at learn Git and Github are used widely among industry, academia, and hobbyists; moreover Git it is a crucial tool in any aspiring programmer’s toolkit that you will definitely run into should you pursue coding in the future
Intro to Git/ Github
To begin with, sign up for a github account at https://github.com/

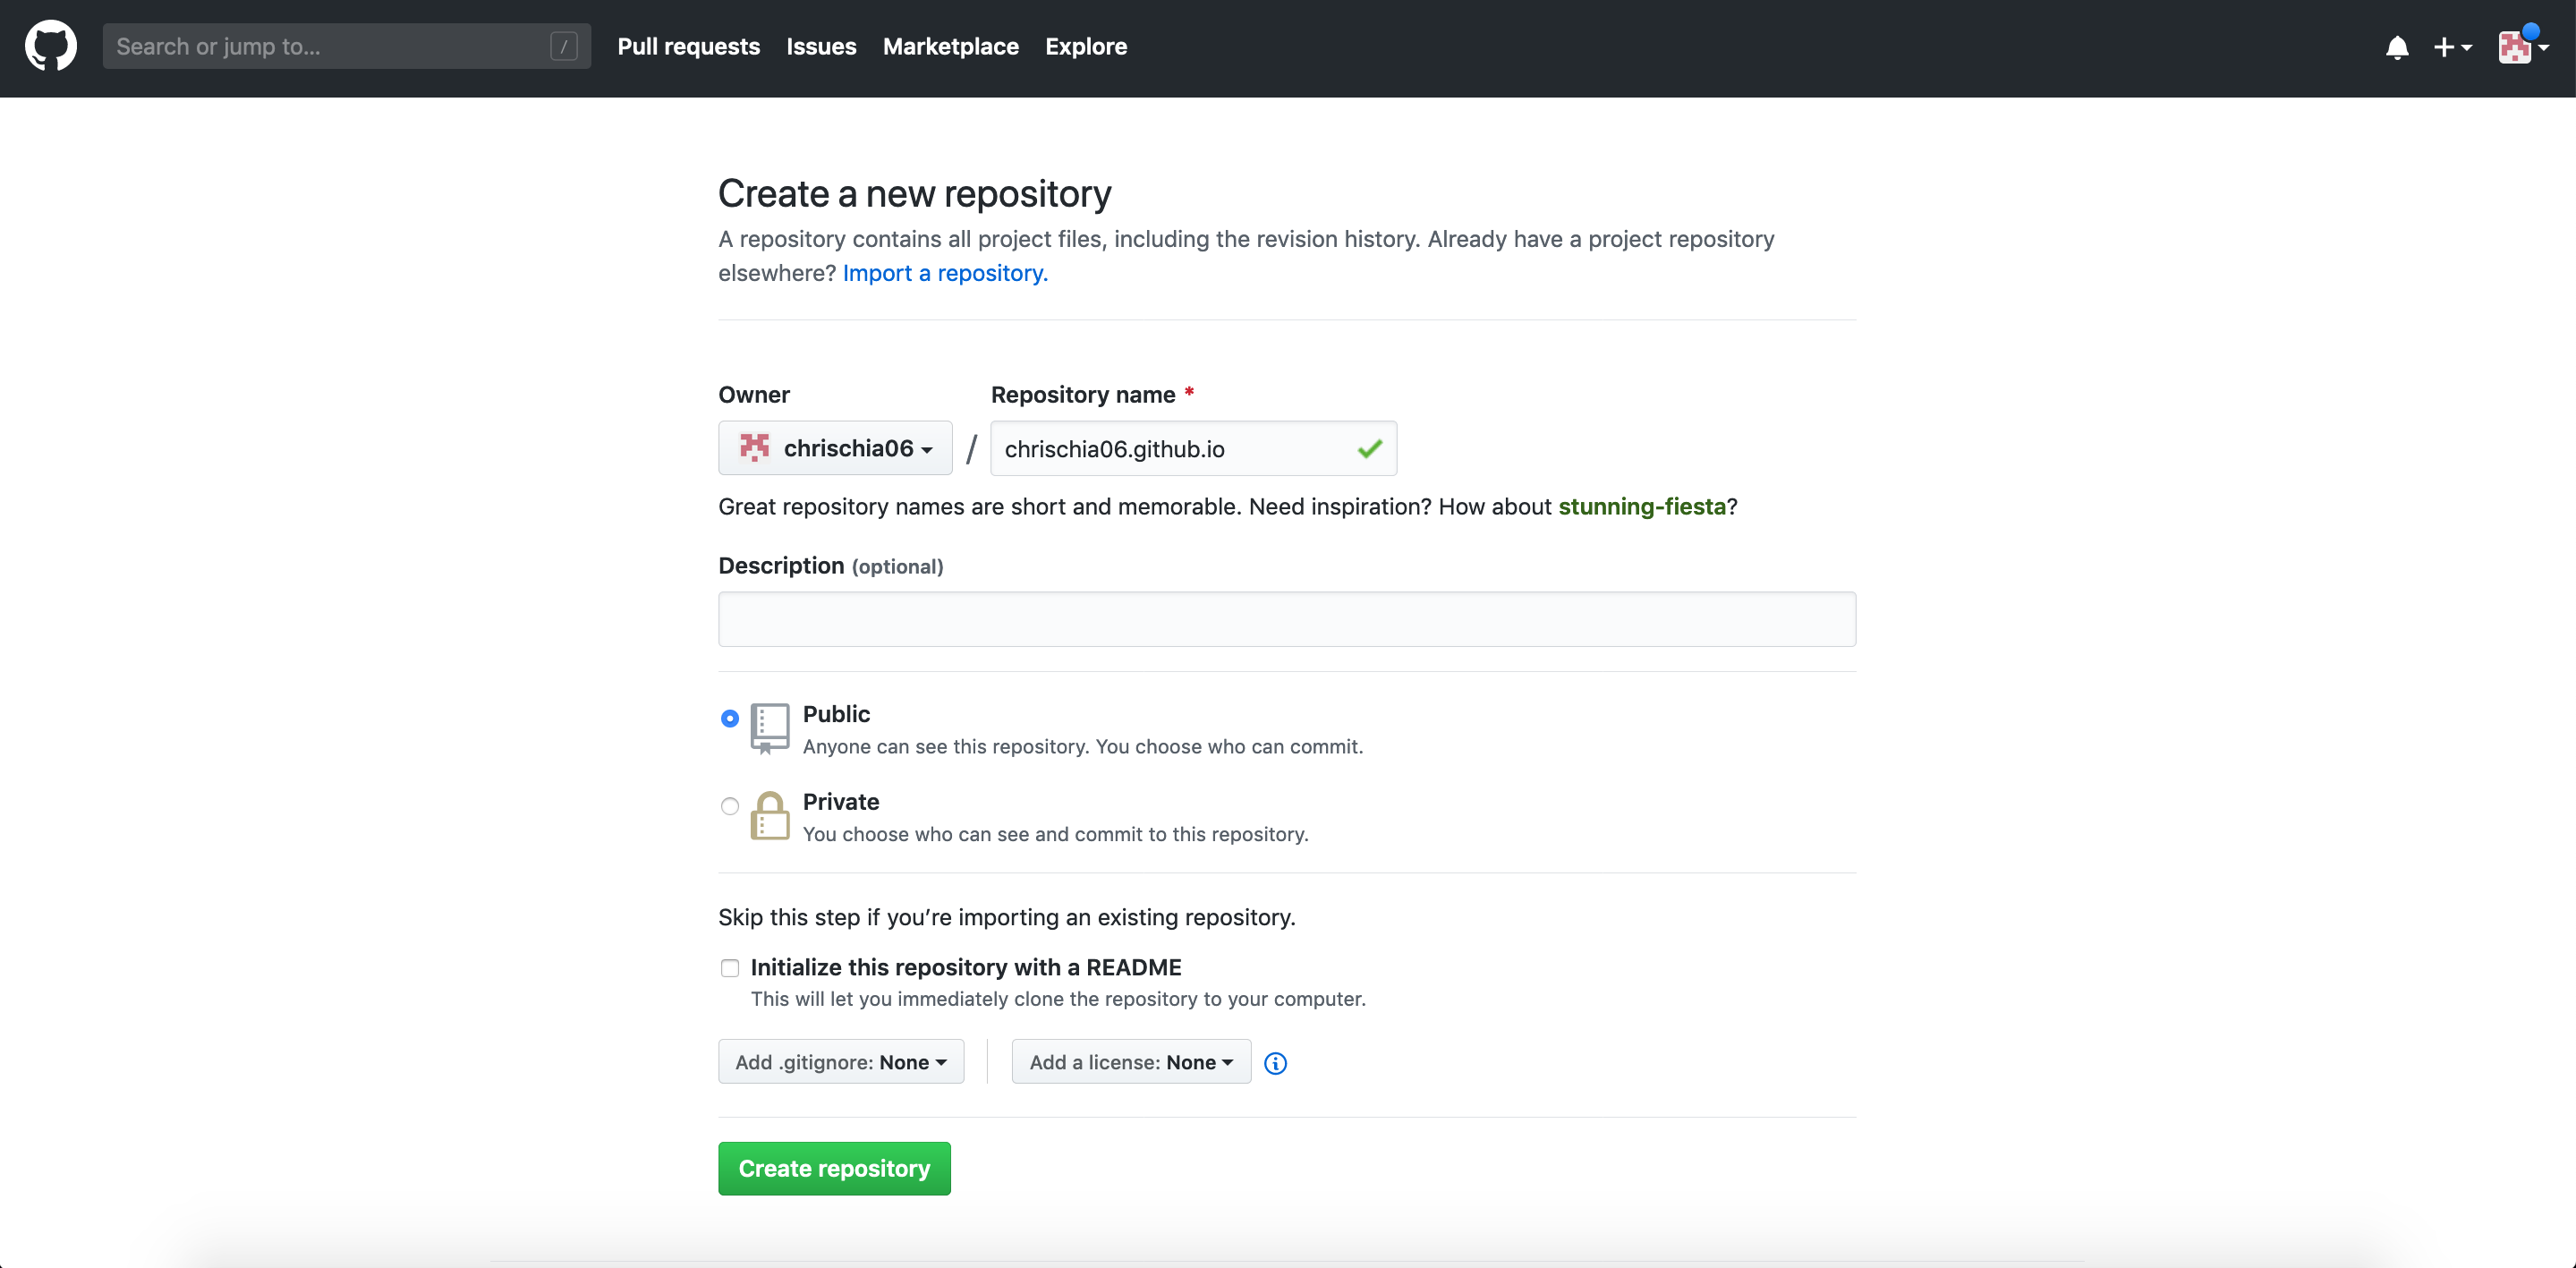
After you have logged in, create a repository at https://github.com/new
It needs to be in the format $USERNAME.github.io, e.g. chrischia06.github.io. This is because Github allows you to host your own (or an organisation’s) free webpage on their server for a website of this naming structure (unless you have your own domain)
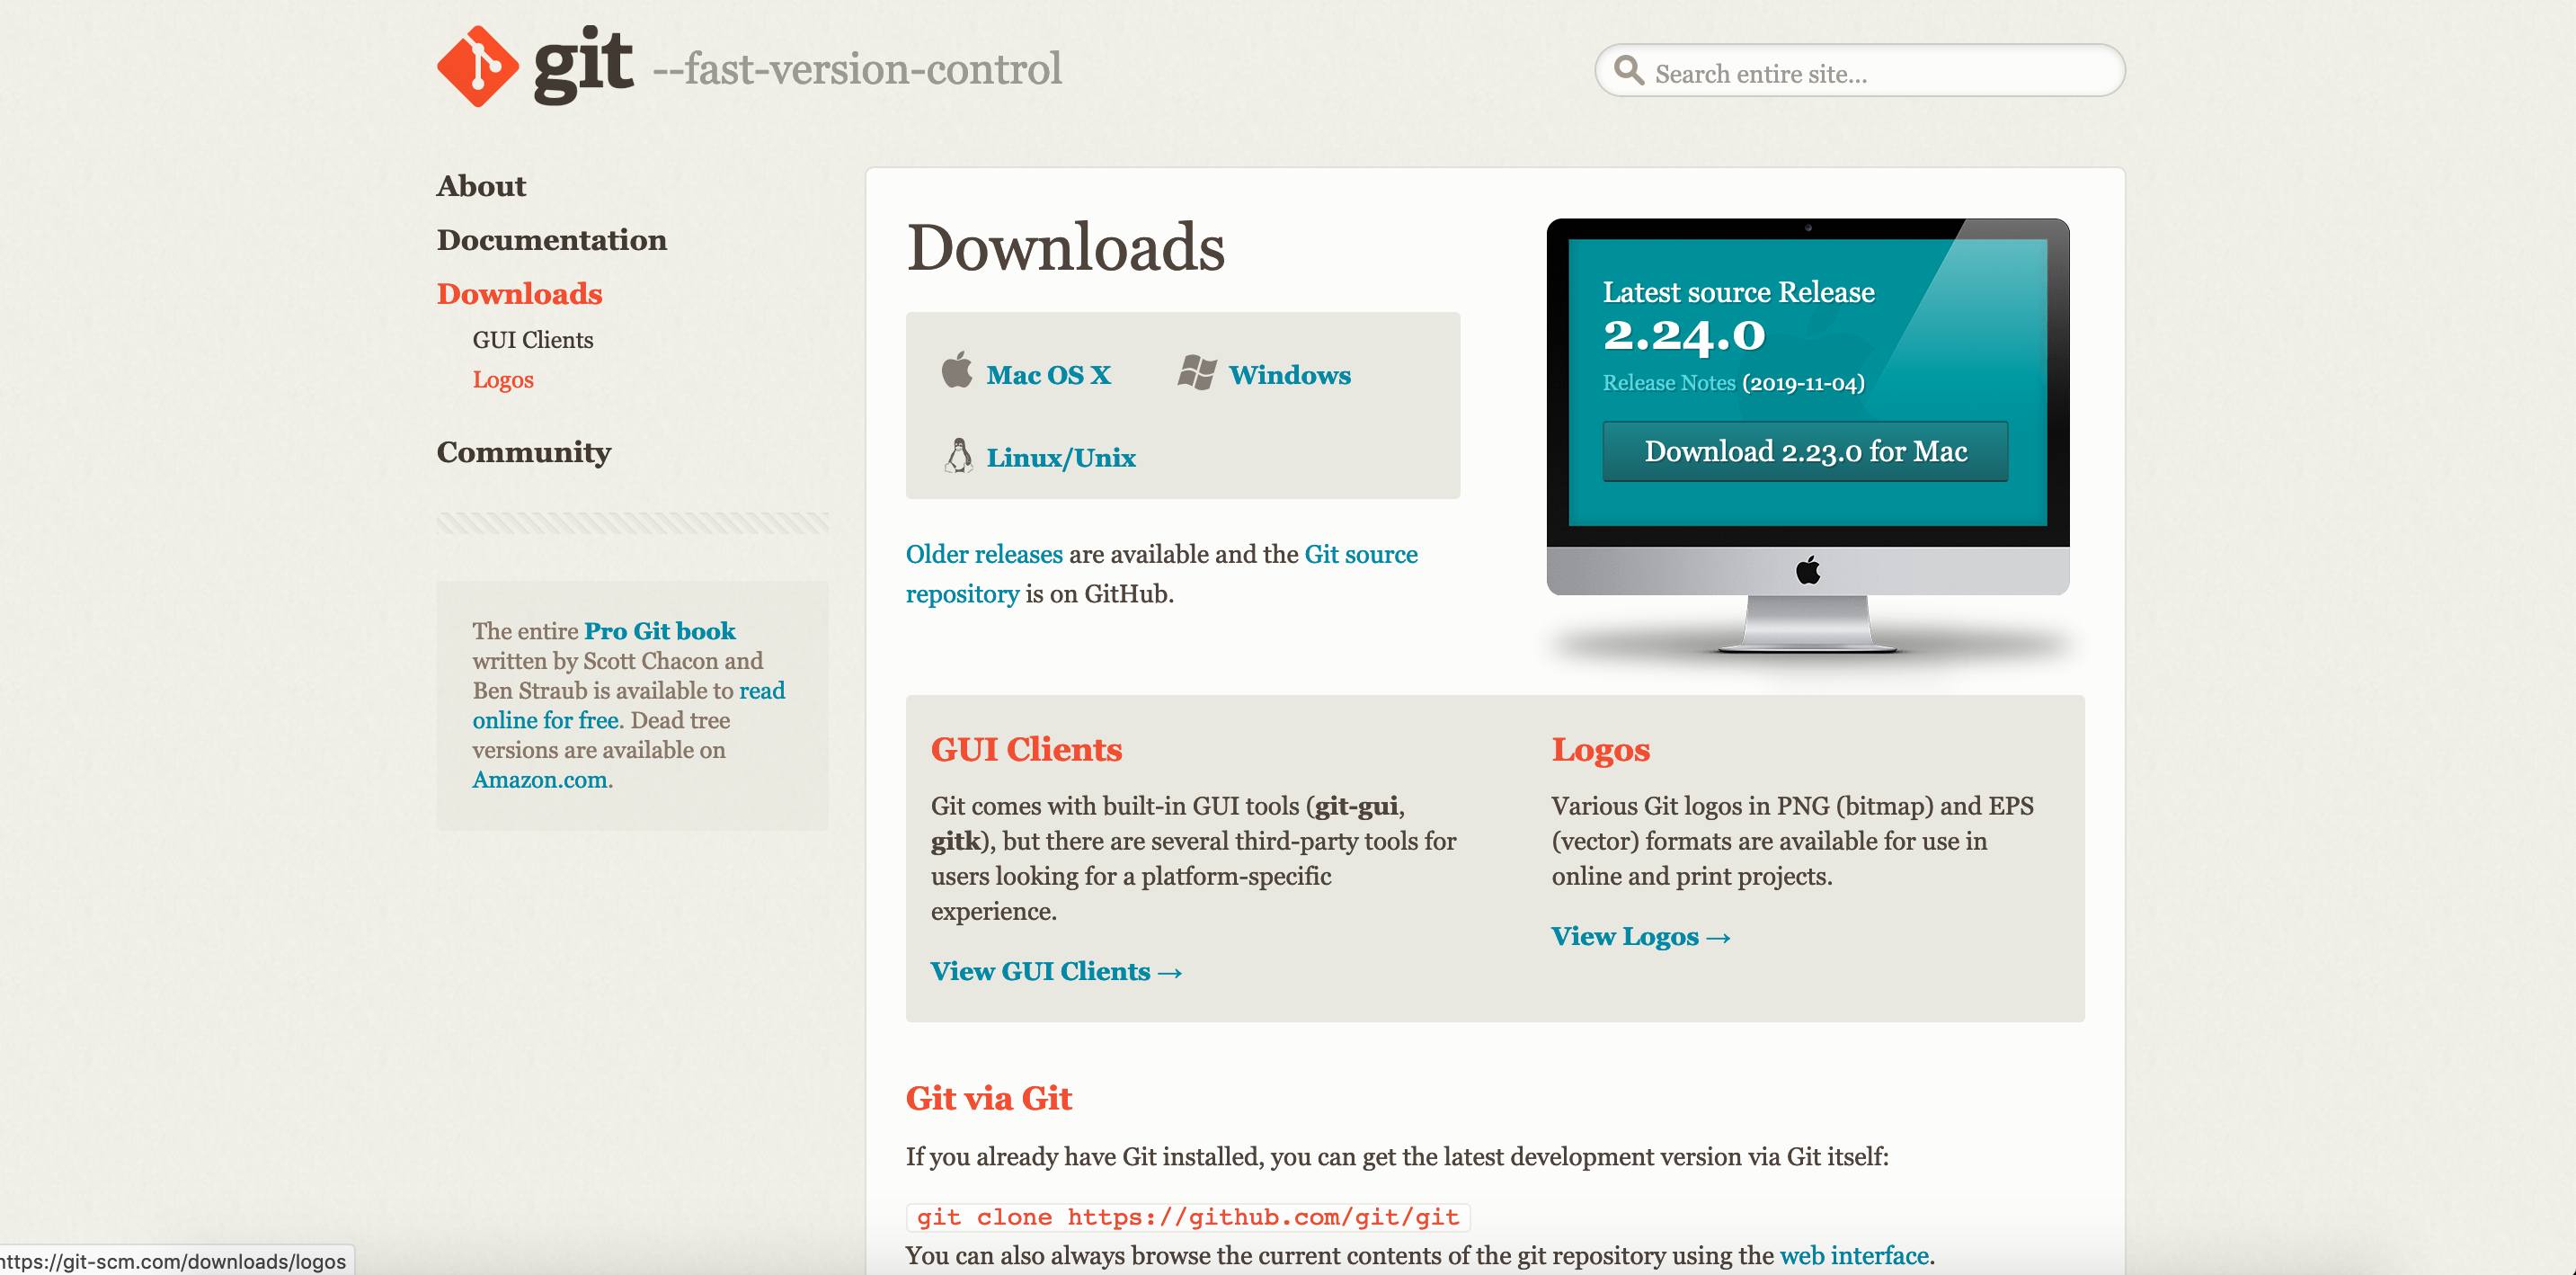
Now install git at https://git-scm.com/downloads
Create a new folder on your computer and call it $USERNAME.github.io
Download “website.zip” from here and unzip the “index.html”,”style.css”, “image.png” and place them in your folder
Open up your terminal in macOS/Linux or Powershell in Windows and type the following:
git init

git add index.html image.jpg

git commit -m "First Commit - adding webpage"

git remote add origin https://github.com/$USERNAME/$USERNAME.github.io.git

git push -u origin master
These are basic git commands. Let’s break this down:
git init - This initialises a git repository on your computer
git add index.html image.jpg This adds the files “index.html” and “image.jpg” to the staging area, which is the list of files you have changed
git commit -m "First Commit - adding webpage" - This commits your file changes, with a meaningful commit message after the “-m” flag
git remote add origin https://github.com/$USERNAME/$USERNAME.github.io.git - This adds the domain to which you will be deploying the changes you make to
git push -u origin master This commits your changes to the server
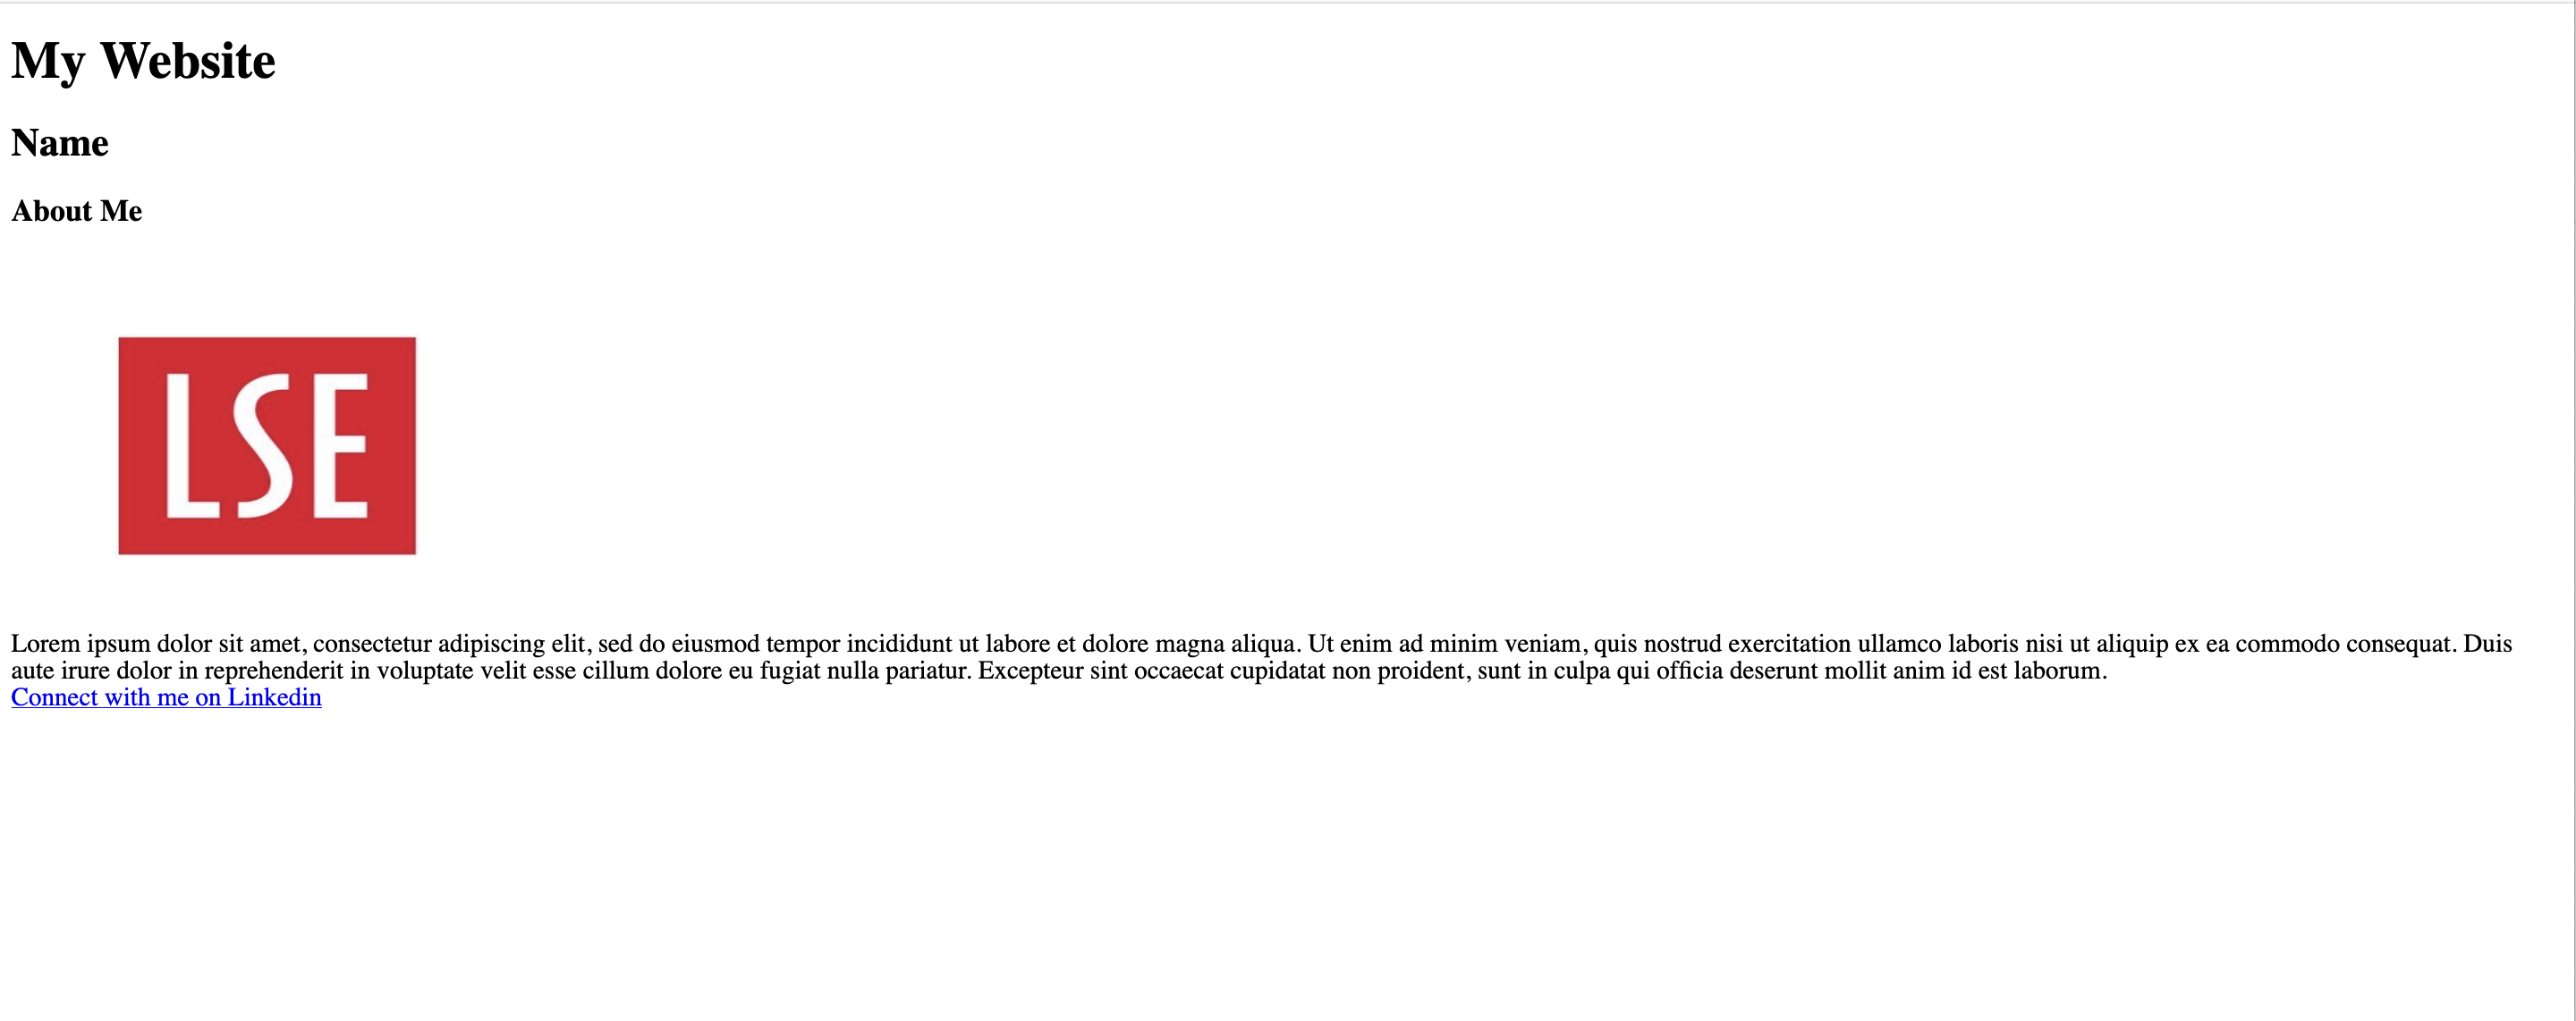
You can now view your website at http://$USERNAME.github.io , which should look something like this
This concludes the first section. If you want to learn more about git commands you can go to guides.github.com/introduction/git-handbook/
Intro to Webpages
If you’re familiar with the basis of HTML and CSS you can gloss over this part. Otherwise, open up "index.html" in notepad or your favourite code editor. I personally use Sublime Text. Then you’ll see this:
HTML
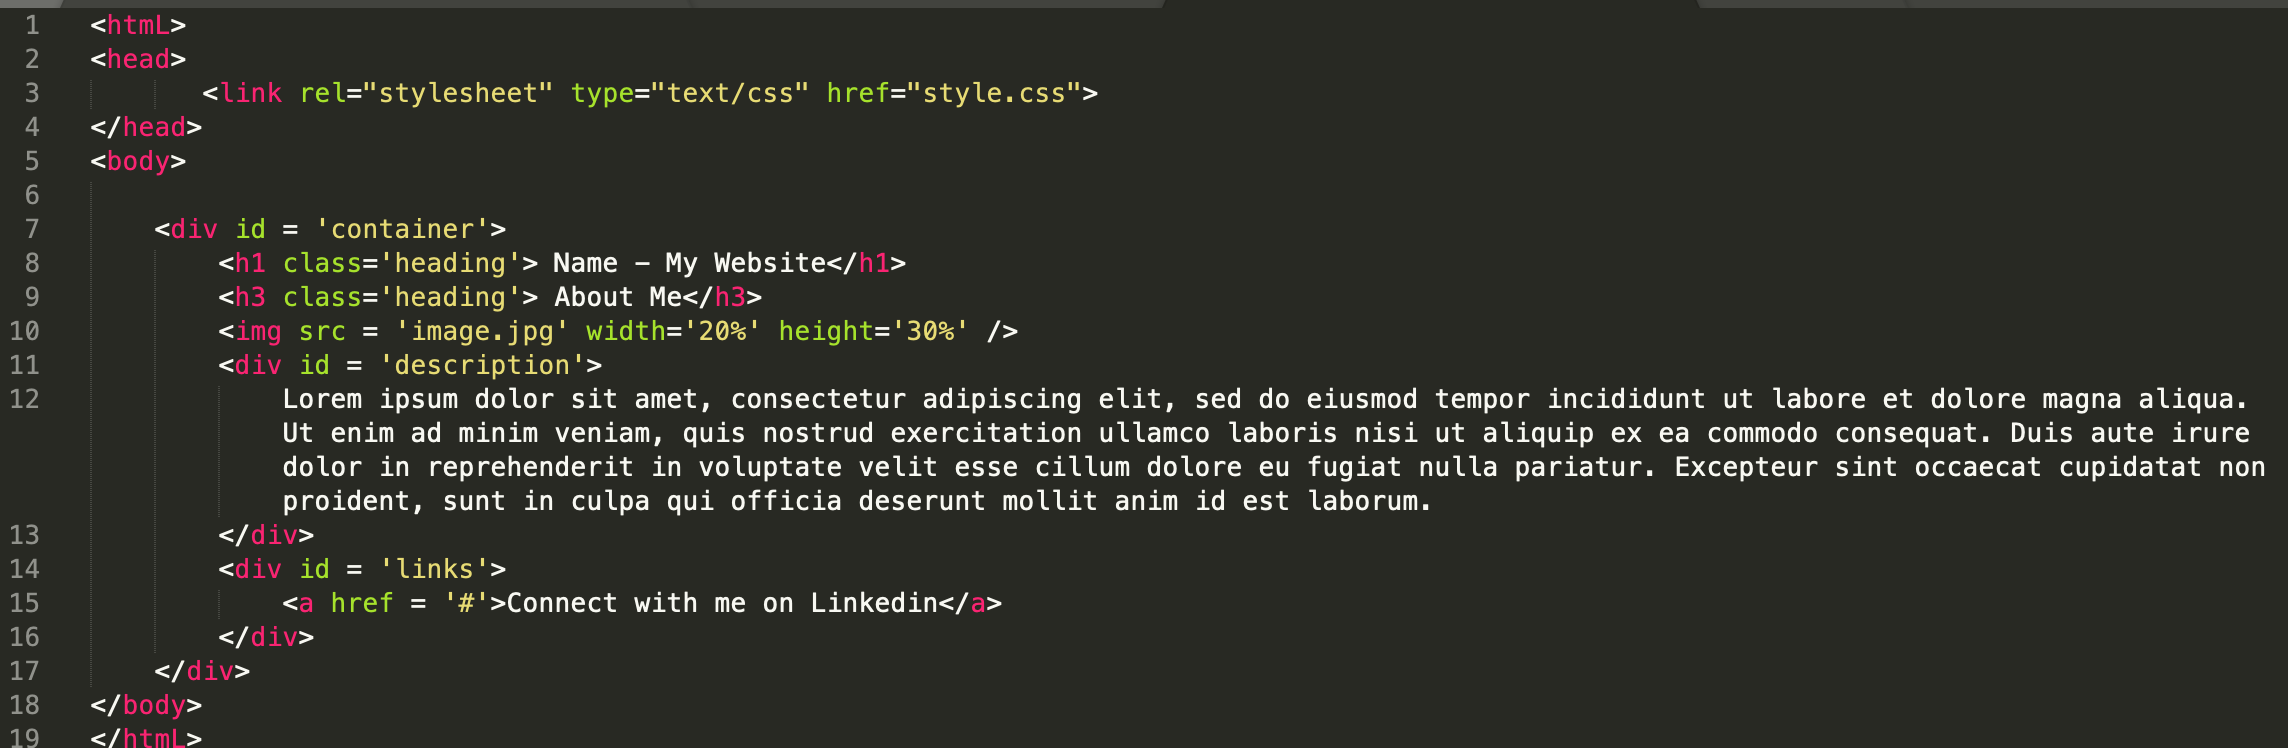
Broadly speaking, HTML is responsible for the content on the webpage. HTML is a markup language, in which we wrap content in tags, which meta-describes and has some effect on the content. For example, the tag <h1> in <h1> Heading 1 </h1> marks the text “Heading 1” a heading. We can change the content between the tags to anything we want, and that will change accordingly the content on the webpage. Note that in most cases, each opening tag, e.g. <h2> needs to be followed by a closing tag <h2> after your content
Here are some of the key tags you need to know for now:
<h1 class = 'heading'> My Heading </h1>
<div id = 'container'> </div>

<a href = 'http://mywebsite.com'> My Link Text </a>

<img src = 'image.jpg'>
<h1 class = 'heading'> My Heading </h1> - This marks the text “My Heading” as a heading1 <h1>, with the class "heading"
<div id = 'container'> </div> - This describes the content within these tags as a division with the id “container’. We’ll see why ids and classes are important later
<a href = 'http://mywebsite.com'> My Link Text </a> - This creates a link to 'http://mywebsite.com' with the text “My Link Text”
<img src = 'image.jpg'> - This places the image with the name image.jpg in the webpage. image.jpg needs to be in the same folder as the file “index.html”
Alternatively we can specify the folder with something like <img src = 'images/image.jpg'> which would mean that the image is in the folder "images"
We can also link to an image online with something like <img src = 'http://www.lse.ac.uk/site-elements/img/lseFull.svg'> which links to http://www.lse.ac.uk/site-elements/img/lseFull.svg.
Now that we’ve introduced these tags, feel free to edit the “index.html” and add any content or extra files you want to make it more personalised. And then when you’re done, type the following in your terminal (macOS) or powershell (Windows):
git add "file that i changed 1" "file that i changed 2" "file that i changed 3"
git commit -m "modifying webpage"
git push -u origin master
Replacing “file that i changed 1” and so on with the files that you changed. Now refresh your webpage at http://$USERNAME.github.io to see the changes
CSS
CSS is broadly responsible for the presentation and styling of your webpage. Open up “style.css” in your code editor. Let’s take a look at the syntax:
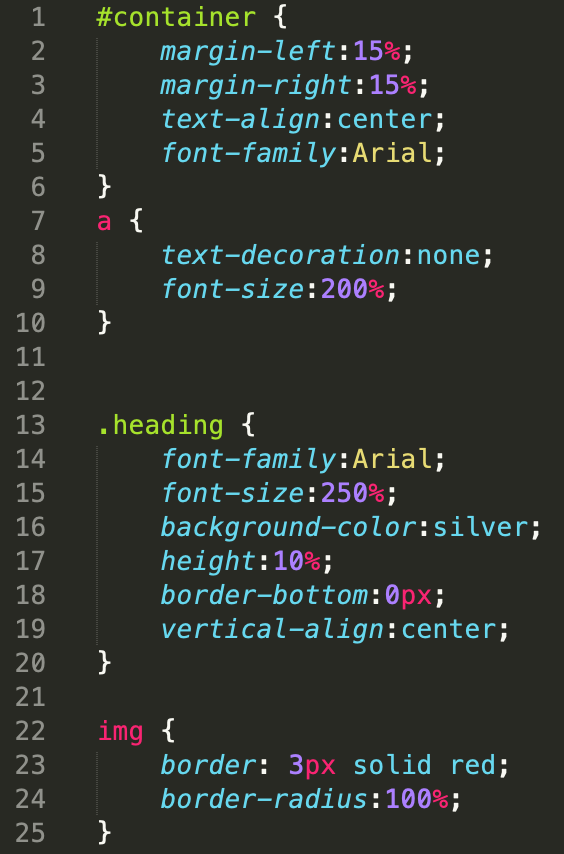
#container {
	text-align:center;
}
a {
	font-size:200%;
}
.heading {
	backround-color:silver;
}
Let’s break this down:
a {font-size:200%;} - This targets elements of type <a></a> and applys the property of making font inside 200% of the default size. We can assign as many properties to the elements we want by adding a new line property:property value;, which we must end with a semicolon. You can look up CSS properties online
#container{...} - This selects all elements that have the id container (the # means an id) and applies the properties we want to it. We use ids for more ‘one-off’ elements that we want to apply properties to
.heading {...} - This selects all elements that have the class heading (the '.' means class) and applies the properties we want to them. We use classes for more general group of elements, e.g. headings
Have a tinker around in the “style.css” file, and make the changes you want. Now we’re going to add the CSS to our website. Again in terminal/powershell, type the following (now hopefully familiar commands):
git add style.css
git commit -m "adding stylesheet"
git push -u origin master
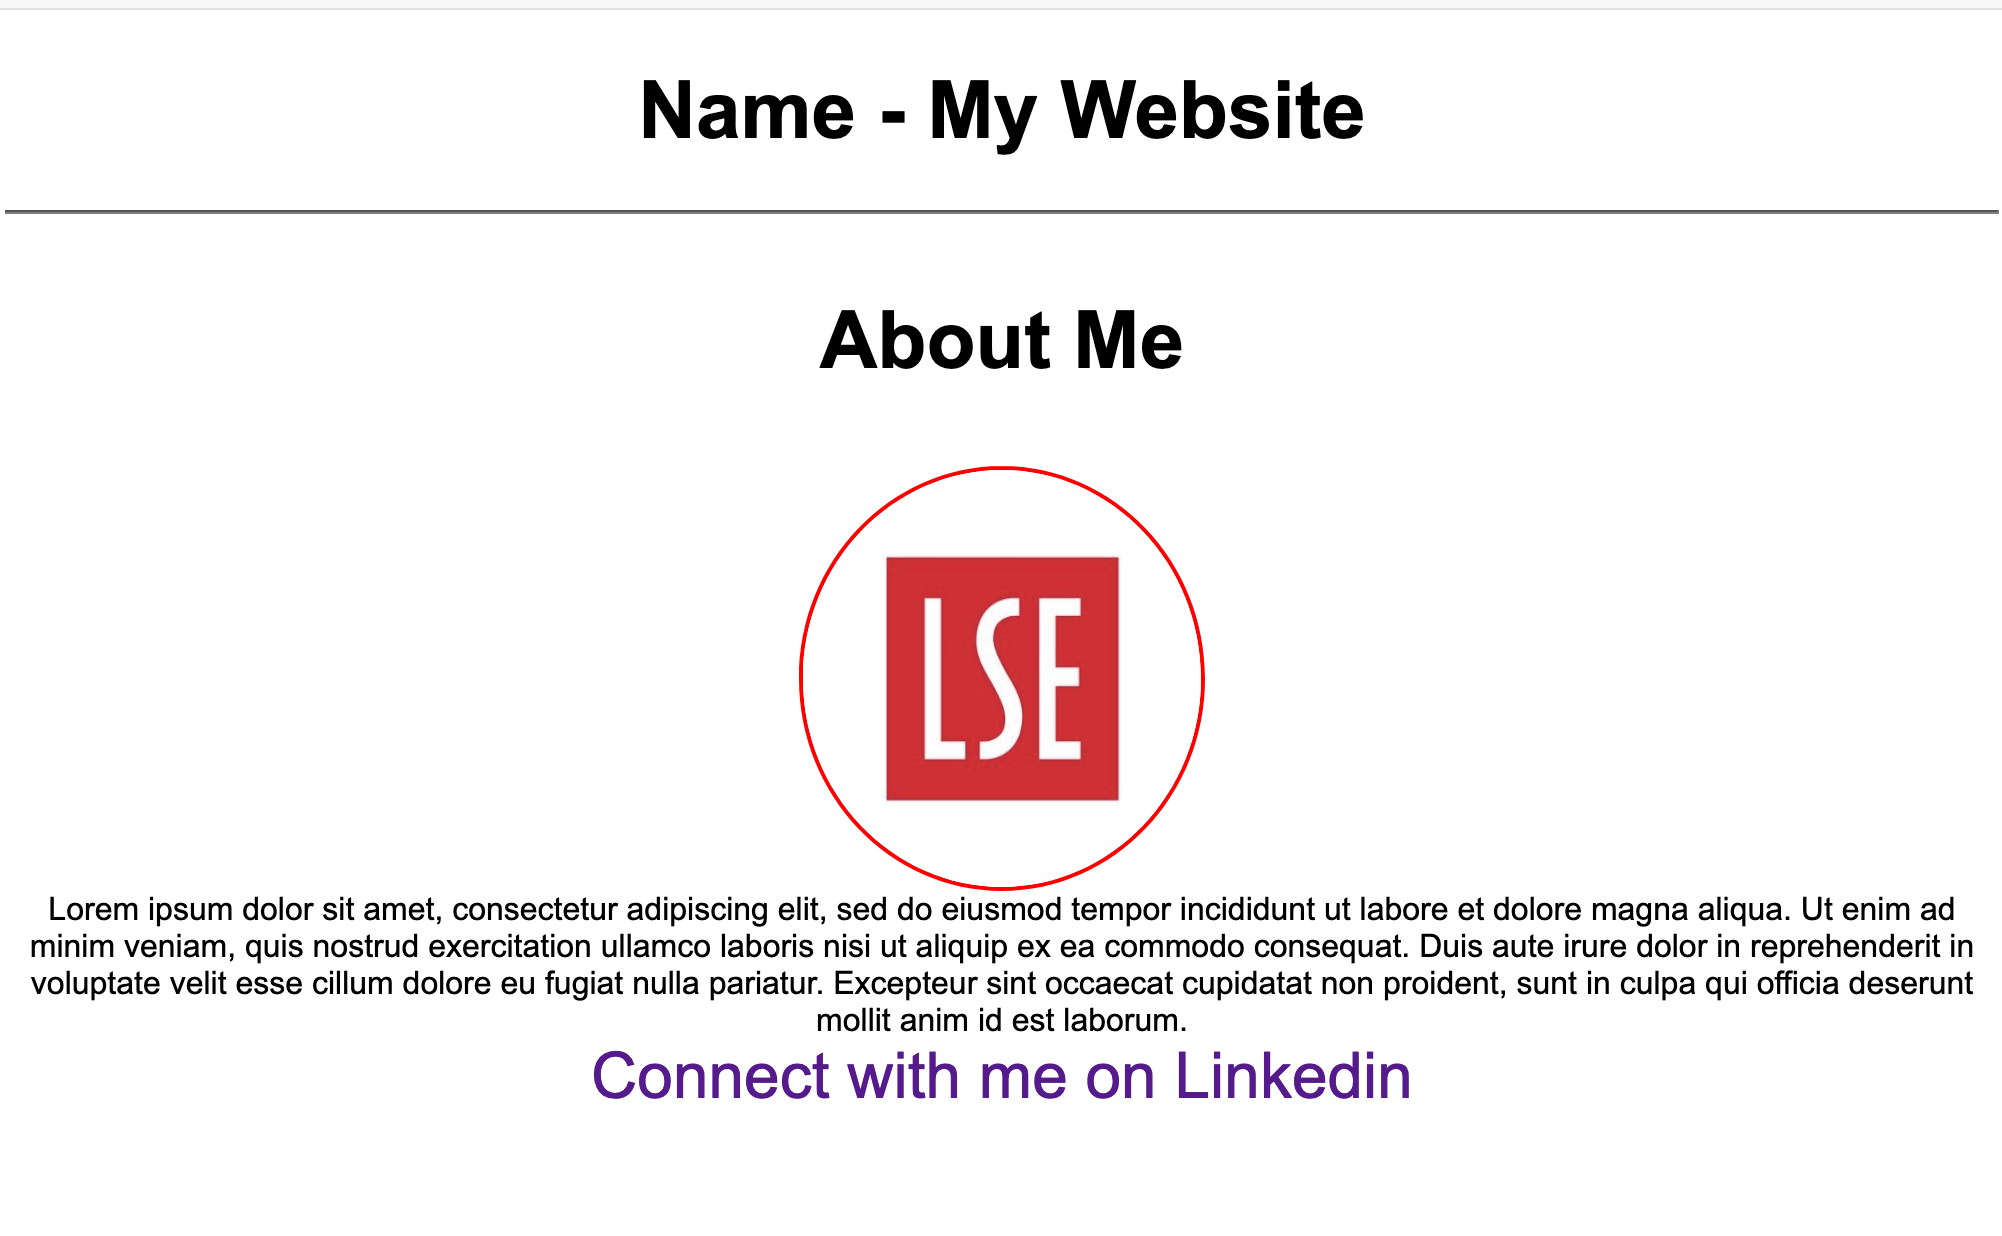
And now when you refresh your webpage at http://$USERNAME.github.io, it should look something like this:
If you want to learn more about HTML and CSS you can visit Mozilla Developer Network’s excellent resources here: https://developer.mozilla.org/en-US/docs/Web/HTML https://developer.mozilla.org/en-US/docs/Web/CSS
Intro to static pages
Instead of creating a webpage from scratch, we can reuse the brilliant work that others have done, and build a website using a static site generator. These use a static site generator (e.g. Ruby and Jekyll, Go and Hugo) make use of Markdown, a markup language similar to HTML which is also used in Jupyter notebooks, to allow you to purely focus on describing content.
To begin with, clone the Minimal Jekyll theme by typing the following into your terminal/powershell:
git clone https://github.com/pages-themes/minimal
Backup the files you made before, “index.html”, “style.css”, and all the other files you previously used into another folder. Now open up the folder where you downloaded the Minimal theme
Move all the files in the Minimal theme folder to your $USERNAME.github.io folder . Then:
git add -A
git commit -m "adding minimal theme"
git push -u origin master
When you refresh http://$USERNAME.github.io you should get something like this:
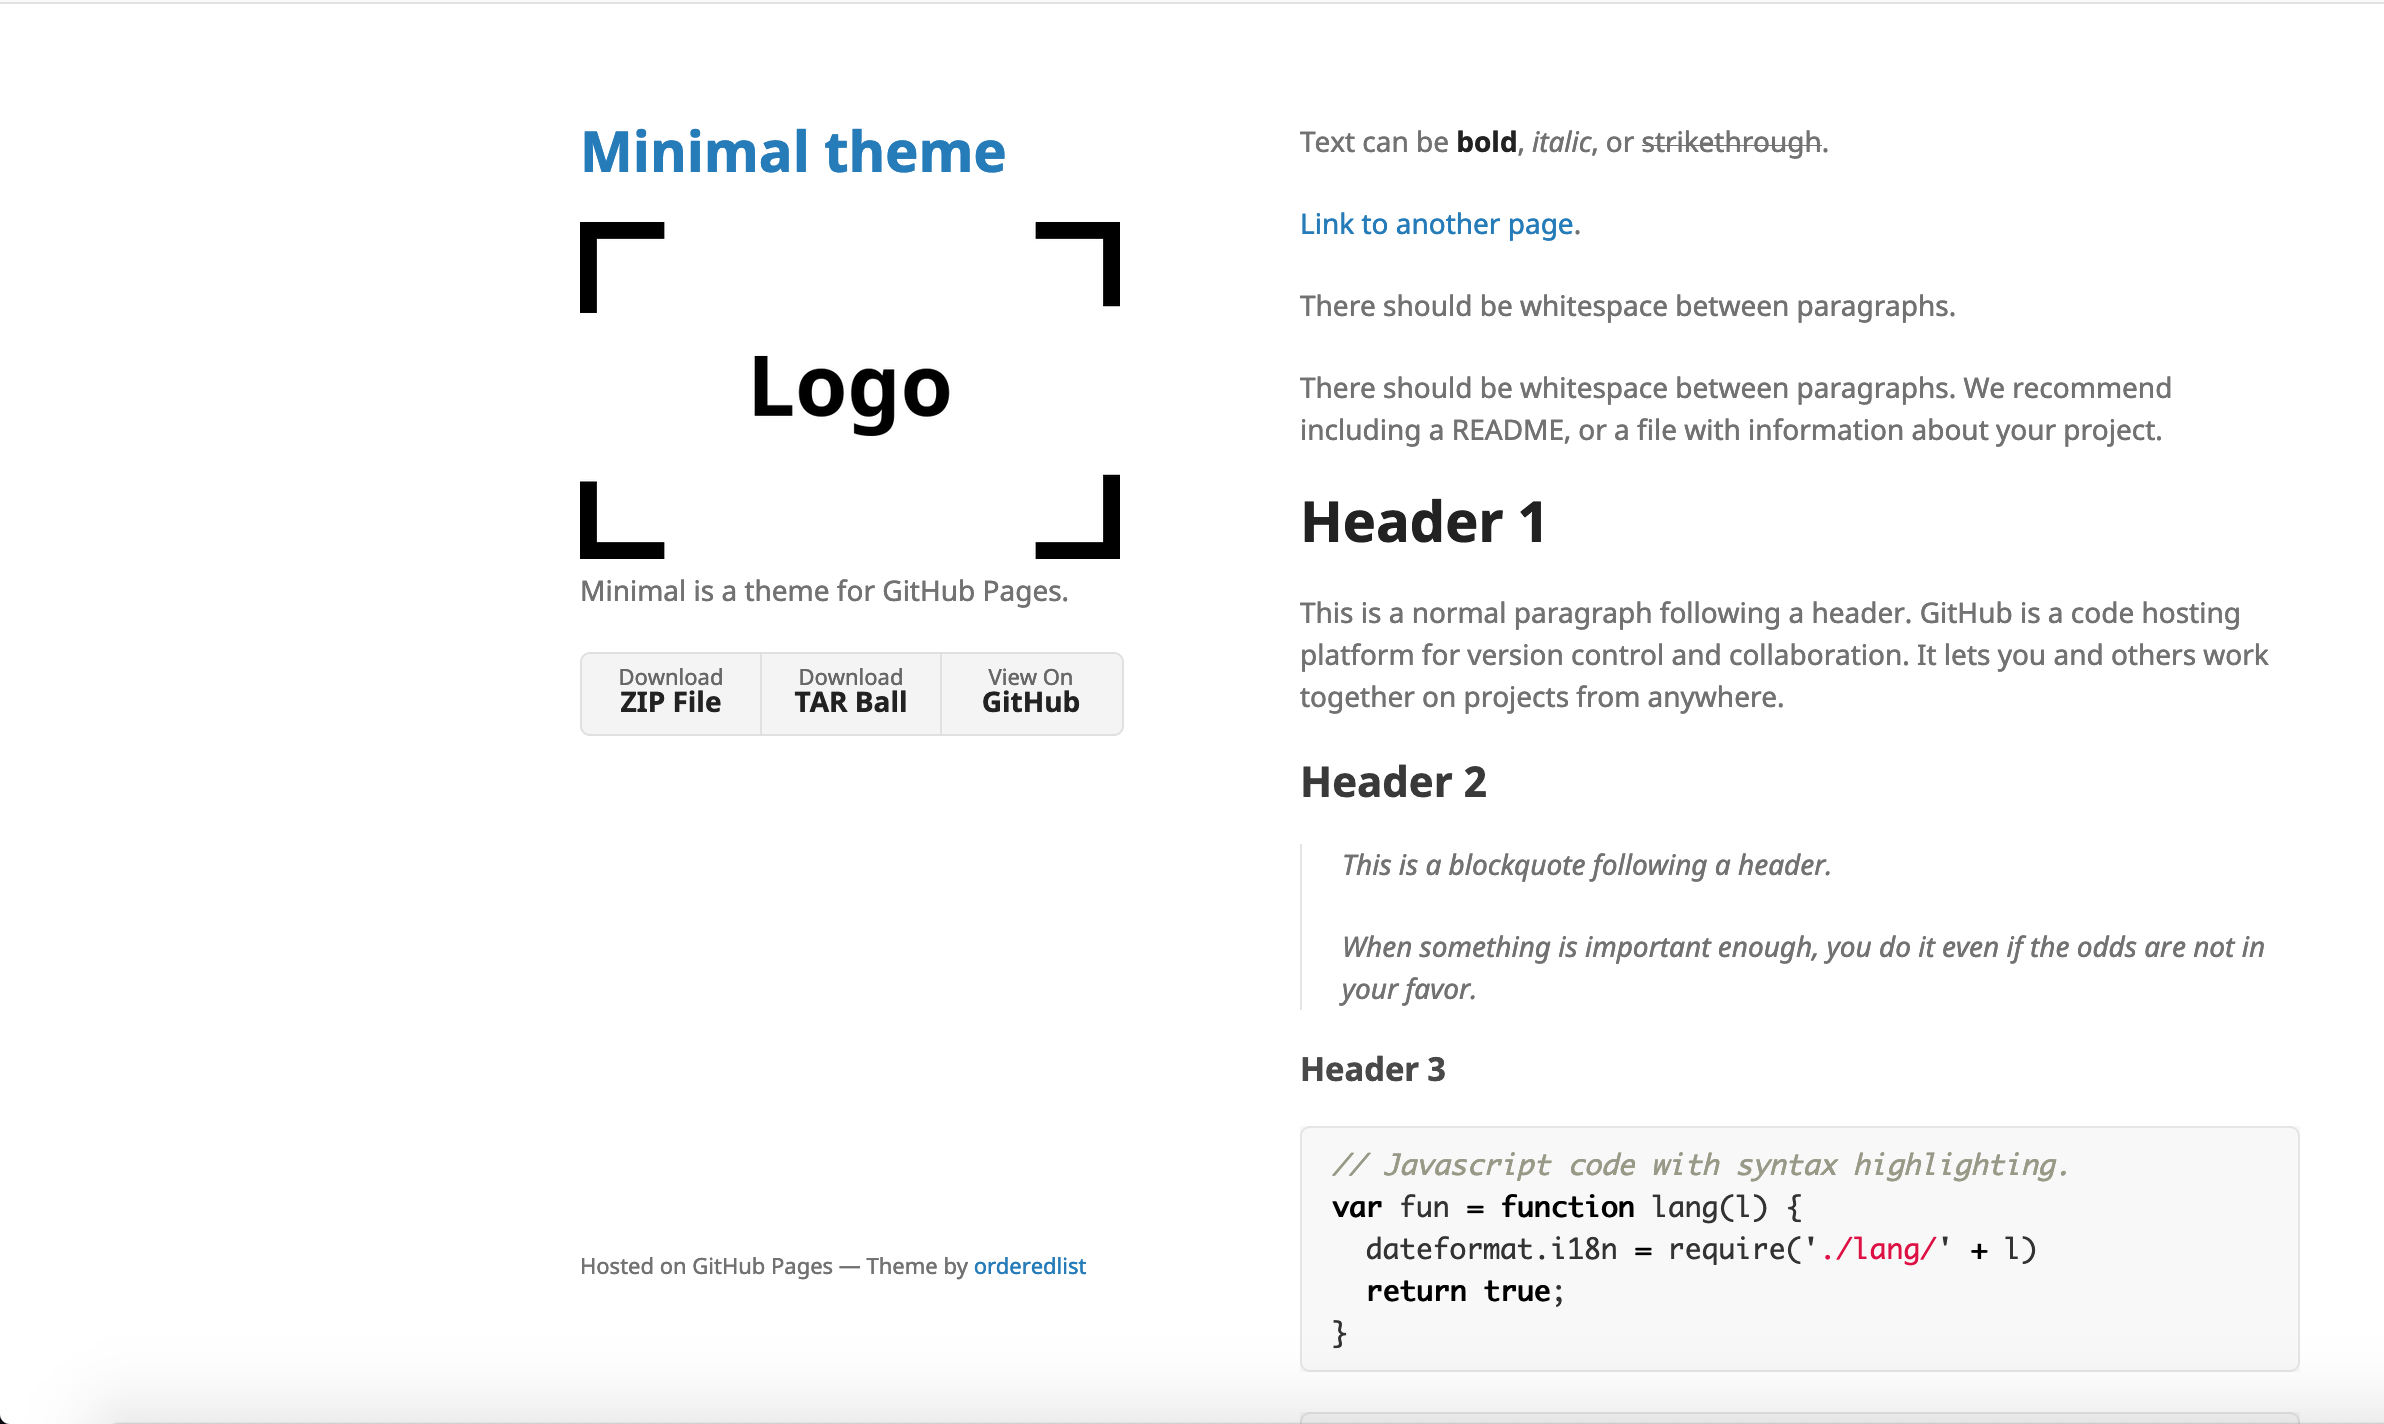
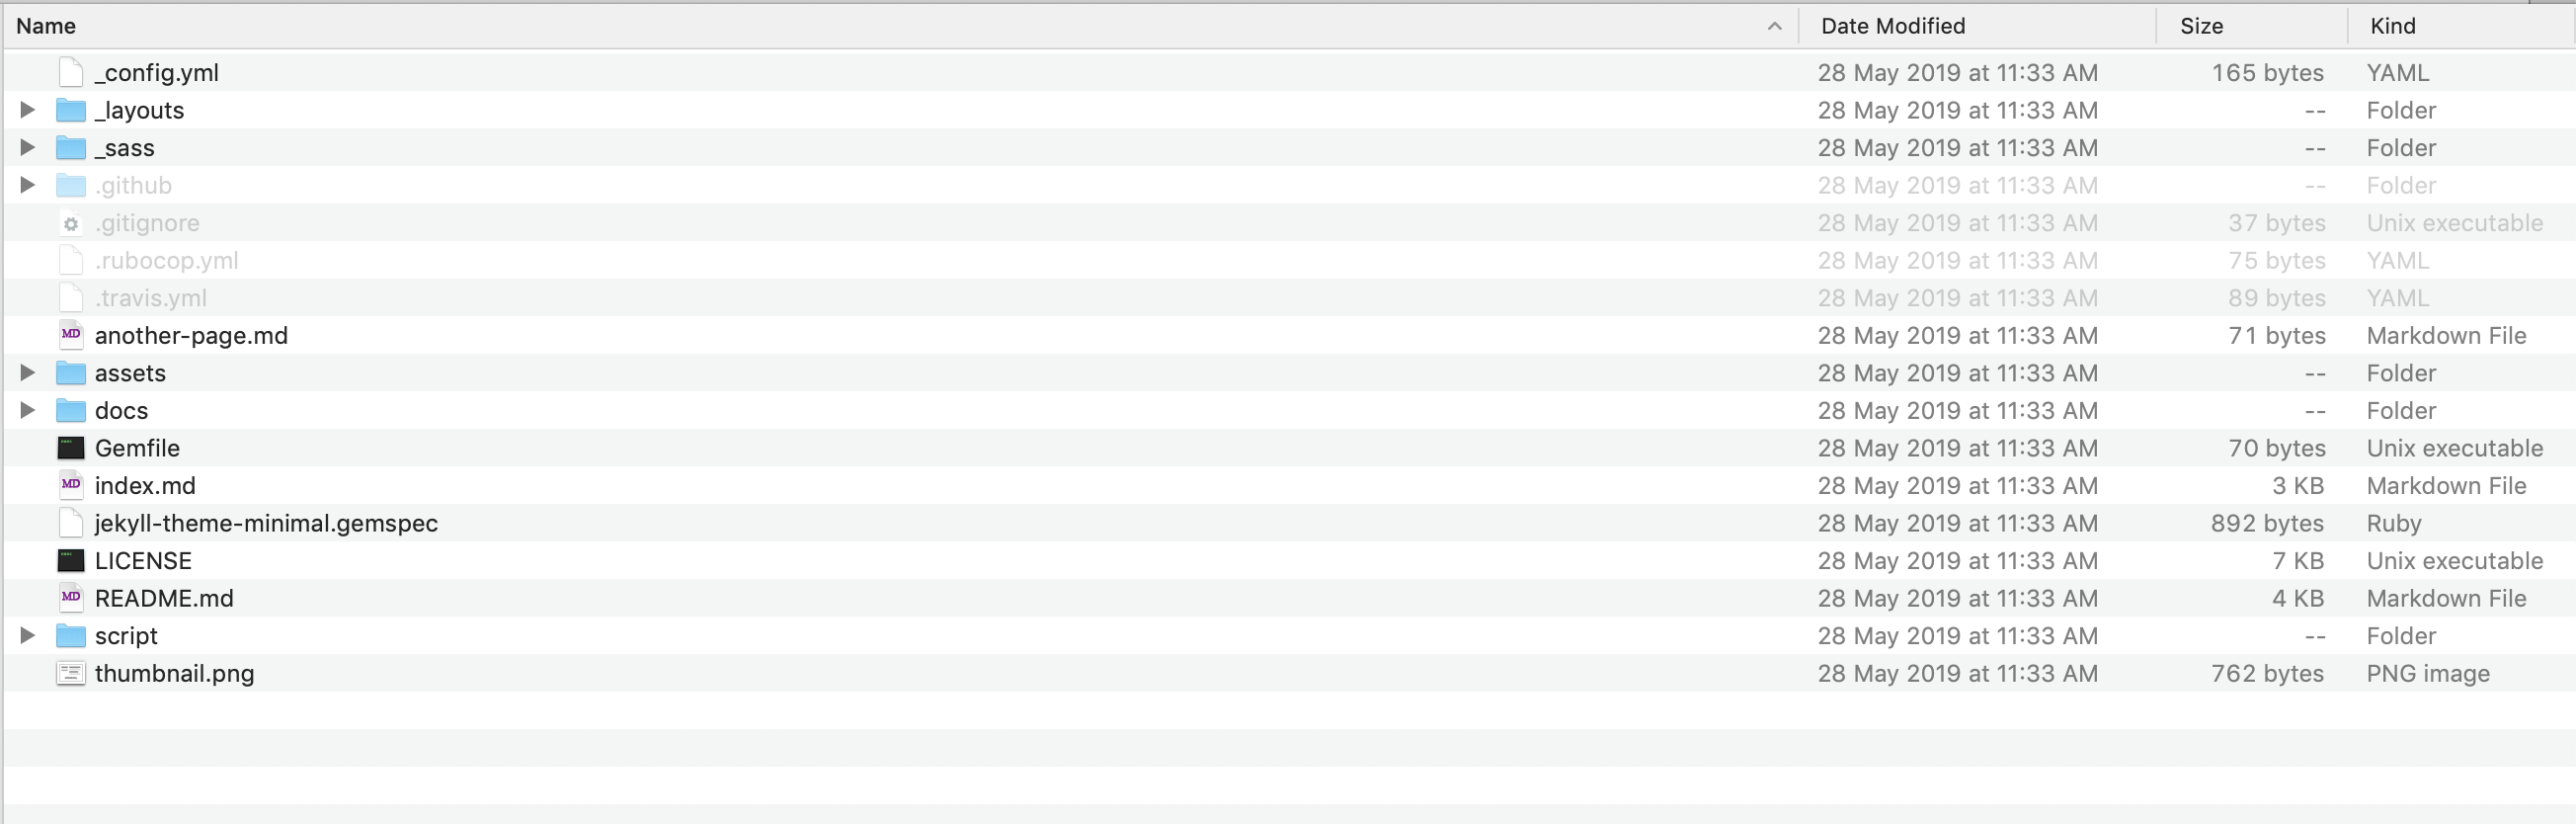
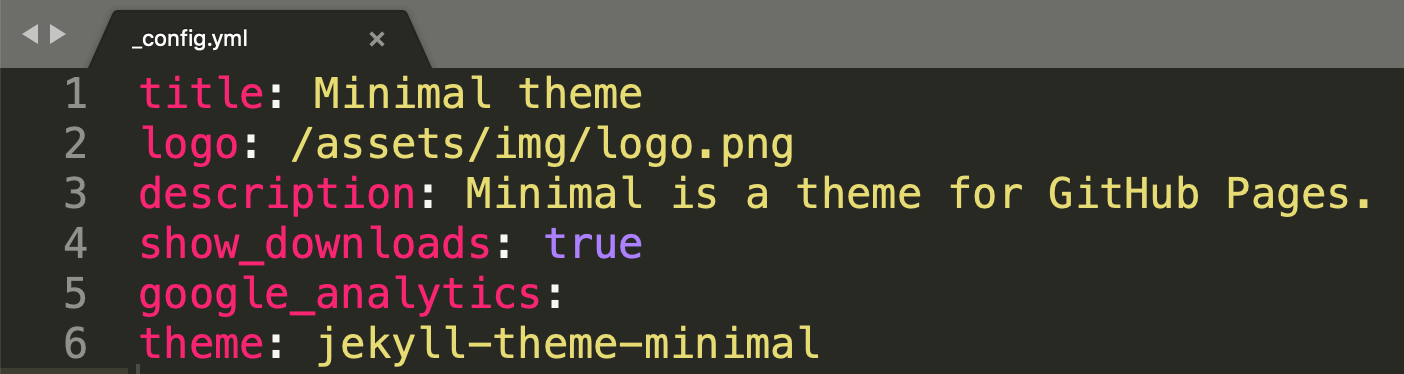
Let’s look that the files we need to change, starting with config.yml
 |
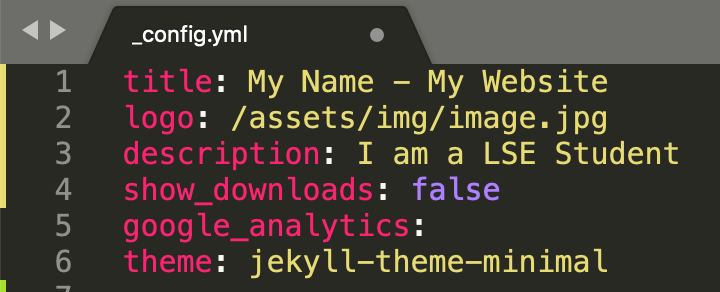 |
Change the title, logo, and description to something you want.
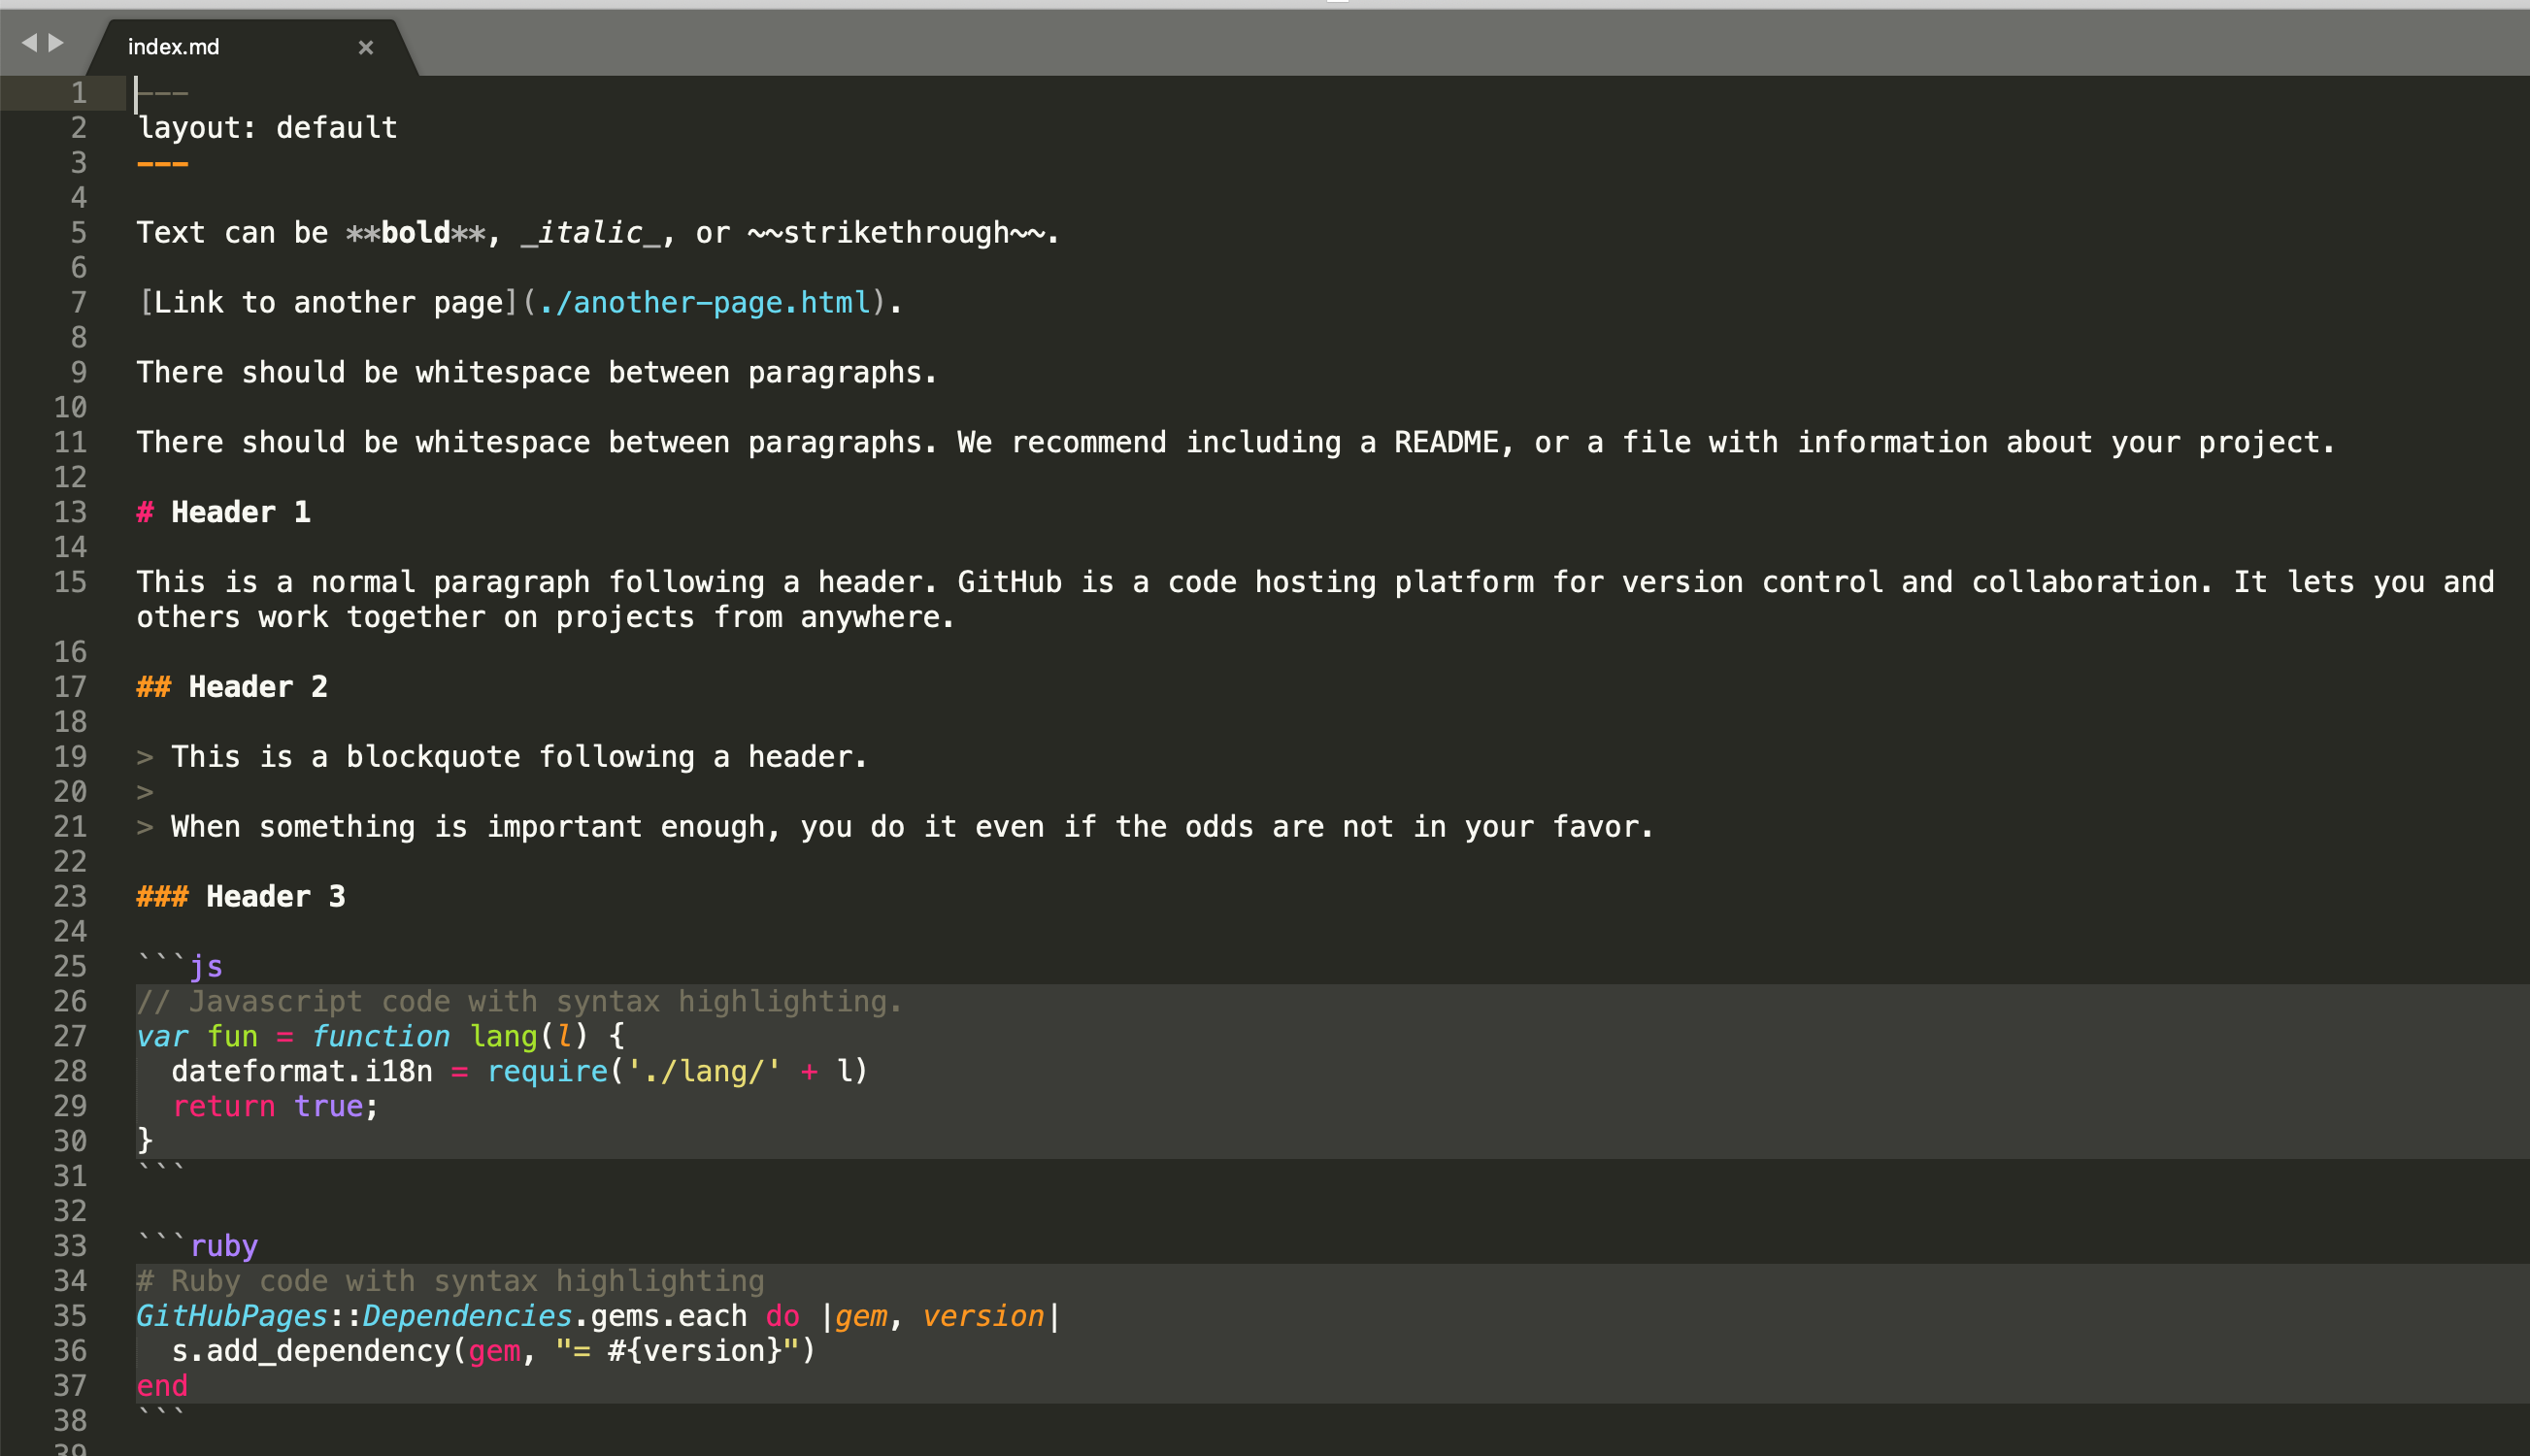
The other file we need to change is index.md. If we open it up, it contains a brief overview of markdown and how to describe content in markdown. Take note of what you need and change the content to something you want.
Now as usual, commit all your changes to Github
git add -A
git commit -m "adding personalised changes to Minimisal Theme"
git push -u origin master
Here’s the final mockup I made using the Minimal Theme. If you’re interested you it is available here:
Advanced
You can obviously work with any static site theme you like. With Jekyll you can develop your static site locally. To do this, you need to install Ruby. Follow the instructions here https://www.ruby-lang.org/en/documentation/installation/
Then install jekyll by typing gem install bundler jekyll into terminal/powershell.
After you have cloned a static site theme fro Github, move to your static site folder and type bundle install into terminal/powershell. This will install any dependencies the theme needs.
Now type bundle exec Jekyll serve. This should deploy your server locally, for example at http://127.0.0.1:4000 which you can open up in your browser. This allows you to test and visualise any changes you make before you deploy to github